Sealant Joints in Natural Stone: When to Replace Them and What to Use
Sealant joints in natural stone do not last forever. When is replacement needed, which sealant should you use and why does new sealant not always solve the underlying problem?
DecoStone Natural Stone
Natural stone specialist · Amsterdam
Table of contents
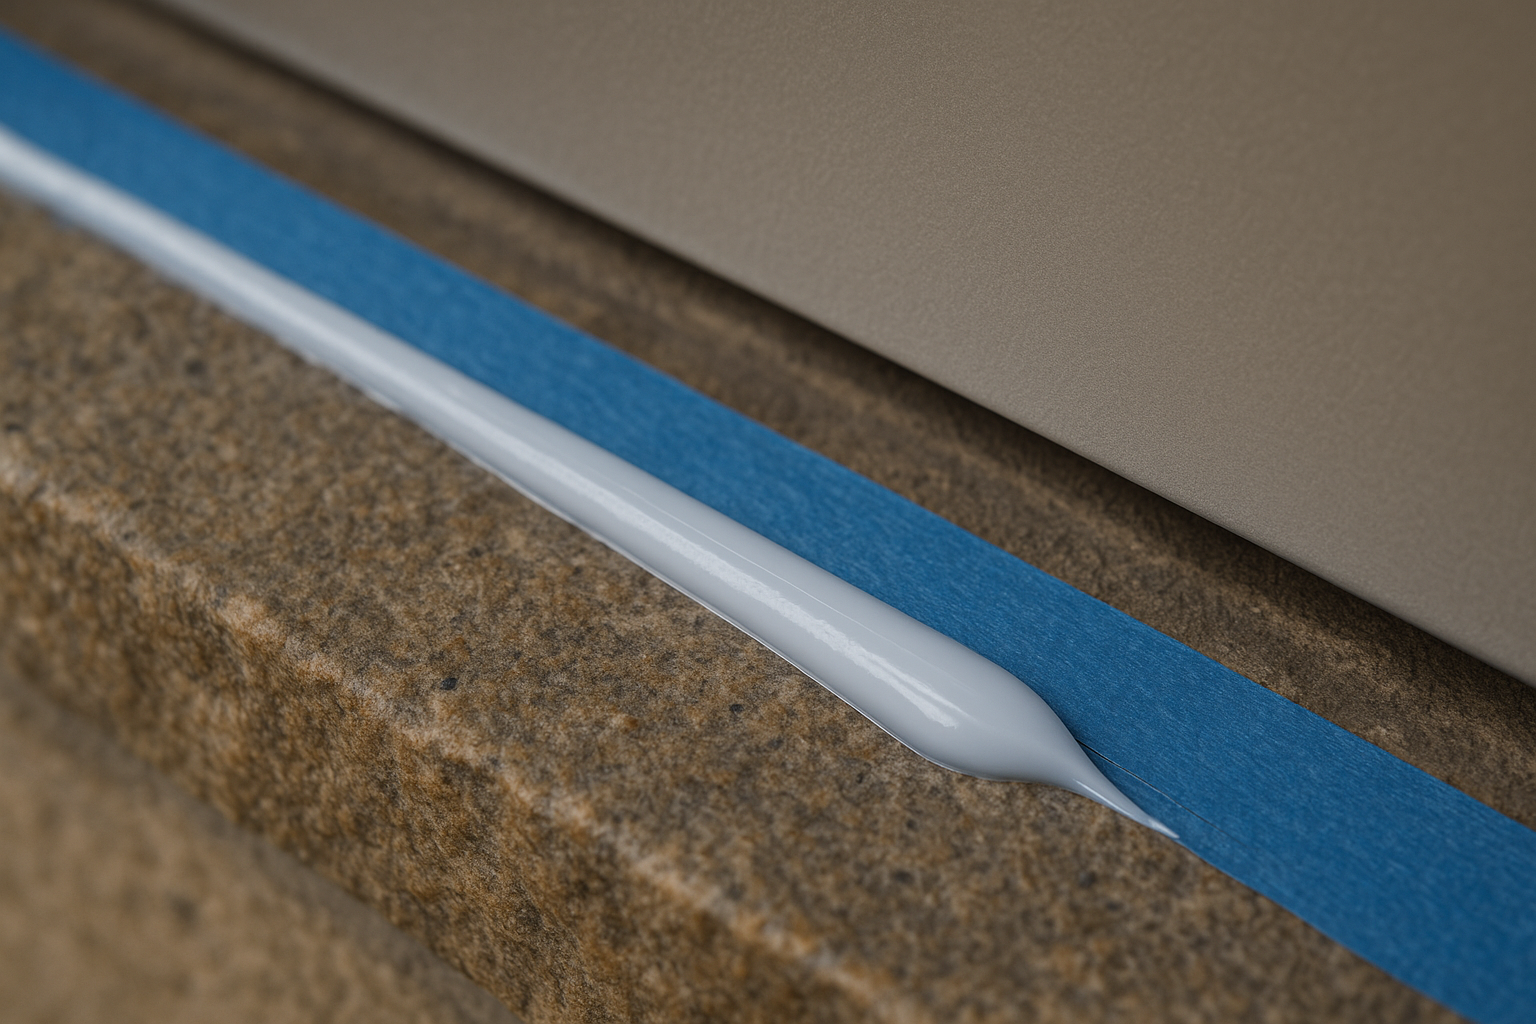
Sealant joints: invisible but essential
Sealant joints are found where movement occurs: the junction between floor and wall, around a kitchen worktop, along a shower tray or at an expansion joint. They absorb movement that hard grout joints cannot handle. Without good sealant joints, water gets in, mould forms and tiles come loose.
Yet sealant joints rarely receive attention until they discolour, come loose or tear. Then it is time to act.
When should sealant joints be replaced?
Not every discolouration means the sealant needs replacing. But these signs do mean it is time:
Clear signs:
- The sealant is pulling away from the stone or wall
- There are tears in the sealant bead
- The sealant feels hard and crumbly (loss of elasticity)
- Black or green stains can no longer be cleaned away (mould in the sealant)
- Water seeps behind the sealant
Less urgent but worth watching:
- Yellowing of white sealant
- The sealant shrinks and the joint becomes narrower
- Surface mould keeps returning despite cleaning
Which sealant for which situation?
Not every sealant is suitable for natural stone. The wrong choice can cause stains that cannot be removed from the stone.
Silicone sealant (neutral-curing)
The standard choice for natural stone. Important: use only neutral-curing silicone. Acetoxy-curing silicone (recognisable by the vinegar smell during application) attacks calcareous stones and causes etch damage.
Suitable for: bathrooms, kitchens, window sills and shower walls.
Hybrid MS-polymer sealant
A more modern option that bonds well, can be painted and does not stain natural stone. Slightly less elastic than silicone, but more broadly usable.
Suitable for: junctions that will later be painted, outdoor applications.
Acrylic sealant
Not recommended for wet areas. Acrylic sealant is not watertight and shrinks as it dries. It is only usable in dry indoor areas without moisture load.
Choosing the right colour
With natural stone, colour choice matters. A sealant colour that is just slightly off stands out more than a deliberately contrasting colour. Rules of thumb:
- Dark stone: choose a shade darker than the stone, not lighter
- Light stone: transparent or light-grey sealant is less noticeable than white
- When in doubt: request a colour fan from the sealant supplier and test on an offcut of your stone
How sealant joints are replaced
Step 1: Remove the old sealant
Cut out the old sealant with a sharp utility knife or a special sealant knife. Work carefully to avoid damaging the stone. Remove residues with a silicone remover and a plastic spatula.
Step 2: Prepare the substrate
The joint must be clean, dry and free of grease. If necessary, use isopropyl alcohol to degrease the bonding surfaces. For deep joints, apply a foam backing rod so the sealant adheres only to the sides and not to the base.
Step 3: Masking
Carefully mask both sides of the joint with painter’s tape. This gives a neat, professional sealant bead.
Step 4: Application
Apply the sealant with a caulking gun in one even movement. Smooth it immediately with a sealant spatula or a finger moistened with soapy water (not saliva). Remove the tape before the sealant begins to cure.
Step 5: Curing
Let the sealant cure for at least 24 hours before exposing the joint to water. In bathrooms and showers, preferably wait 48 hours.
Important: new sealant does not always solve the cause
This is the point many people overlook. Sealant joints that repeatedly come loose or develop mould have a reason. Applying new sealant without addressing that reason is treating the symptom.
Common causes of recurring sealant failure:
- Movement in the construction: if the floor or wall keeps moving, new sealant will tear again
- Moisture problem behind the wall: mould in the sealant is often a symptom of moisture coming from behind
- Wrong sealant type: acetoxy silicone on limestone, acrylic sealant in a wet area
- Joint too narrow: a sealant joint must be wide enough to absorb movement (at least 5 mm)
We can replace sealant joints professionally. But if the cause is structural, we will always advise having that cause investigated first. Honest advice saves you duplicate work.
Maintaining sealant joints
With good maintenance, sealant joints last considerably longer:
- Clean sealant joints regularly with a soft brush and pH-neutral cleaner
- Do not use abrasives or aggressive mould removers on the sealant
- Ventilate wet areas well to prevent mould formation
- Check sealant joints annually for detachment and tears
- Act promptly at the first signs of wear
Do it yourself or have it done?
Let’s be honest: sealing is skilled work. It looks simple — a tube of sealant, a caulking gun, smooth it off — but in practice it is often disappointing. While you spend hours fussing and run a wet finger along the bead ten times, a good sealant specialist can finish your whole bathroom in two hours. Straight joints, no mess, no frustration.
We are regularly asked to do sealant work. We can do it, but honestly we prefer to subcontract it to a specialist who does it every day. Those people are so fast and precise that it is a shame to try it yourself and then still have to call in a professional.
Our advice: save yourself the effort. Leave sealant work to someone who does it daily. The difference in result is enormous, and it saves you an afternoon of frustration and a tube of sealant that dries halfway through.
If you still want to try it yourself, at least pay attention to:
- Removing the old sealant completely (new sealant will not adhere to residues)
- Choosing the right sealant type for your stone
- Masking tightly and removing the tape before the sealant cures
- Not applying sealant to a damp substrate
But honestly? Call a sealant specialist.
Need help?
Are you unsure about the right approach, or would you like to know what is possible? Send a photo via WhatsApp and we will give you honest, no-obligation advice.
Want to be sure which treatment is safe?
Send photos of the surface, room and problem. DecoStone assesses the material, damage pattern and risks before advising on a treatment or quotation.
Related articles
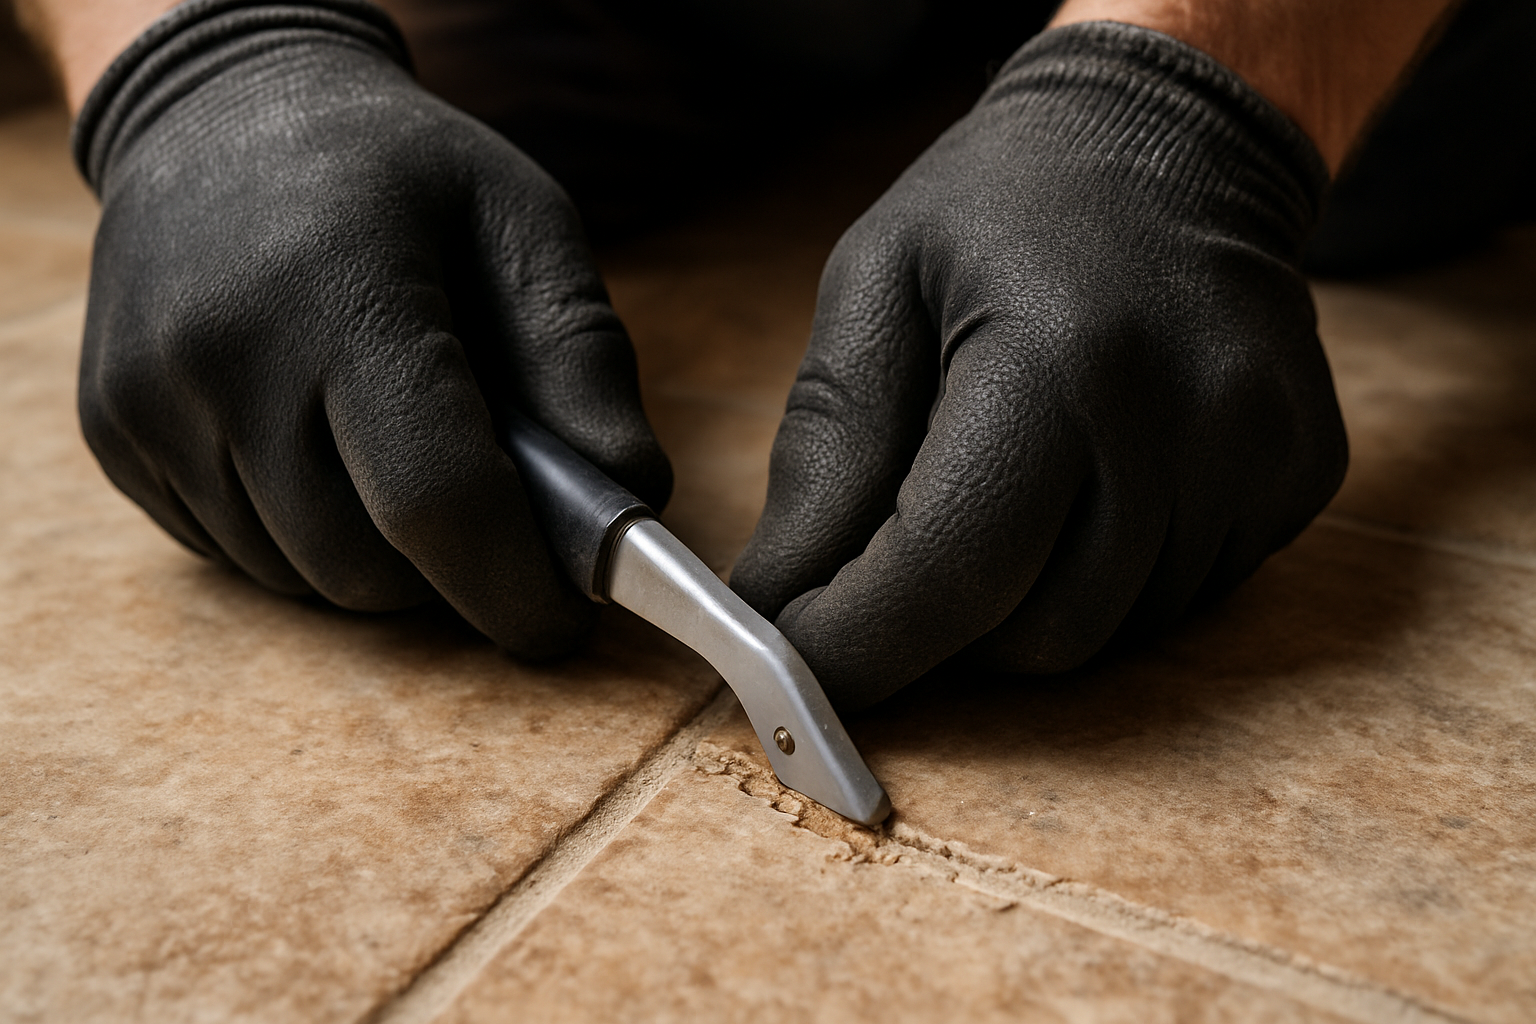
Replacing Joints in Natural-Stone Floors: When and How
Cracked, crumbly or discoloured joints in a natural-stone floor are more than an aesthetic problem. Read when joint replacement is necessary and how it is done.
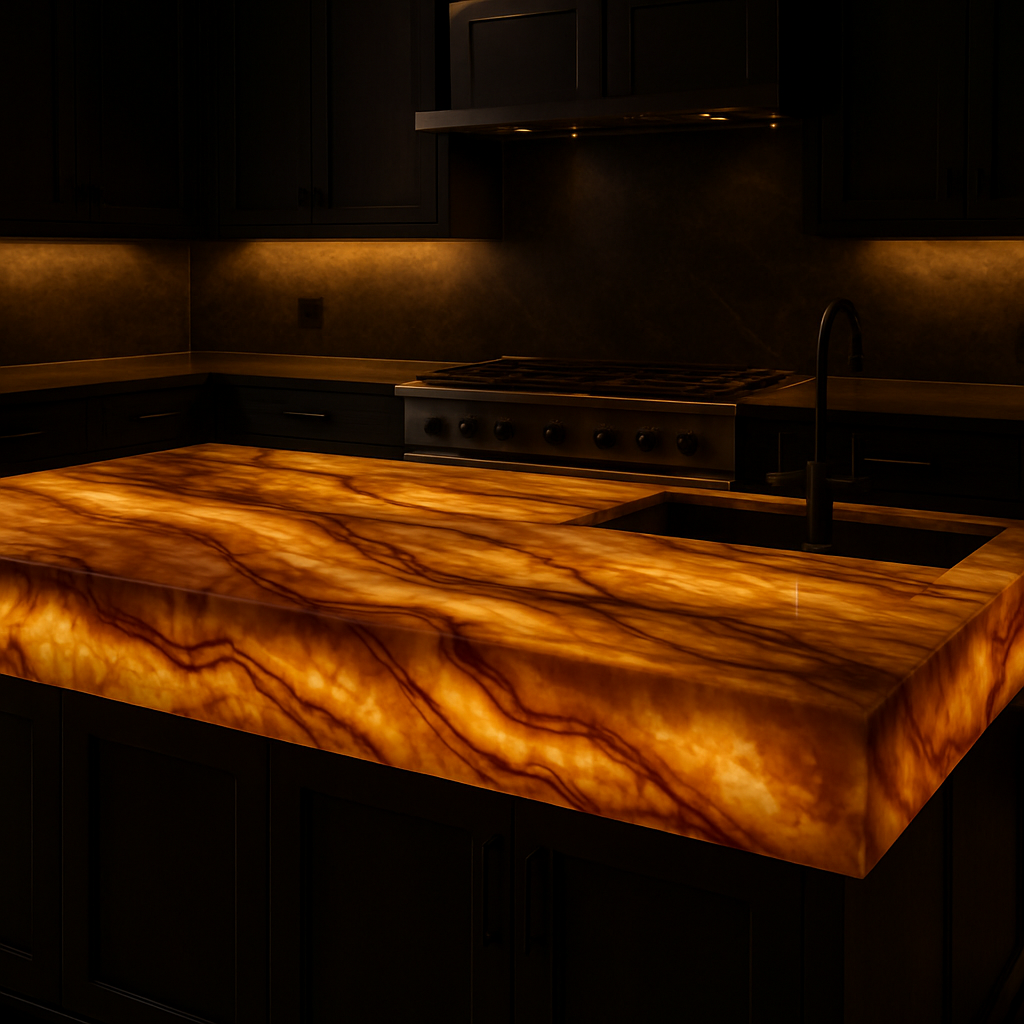
Onyx Worktop Maintenance: How to Keep This Special Material at Its Best
Onyx is one of the most spectacular, but also most demanding, natural stones. These are the rules you need to know to enjoy it for years.
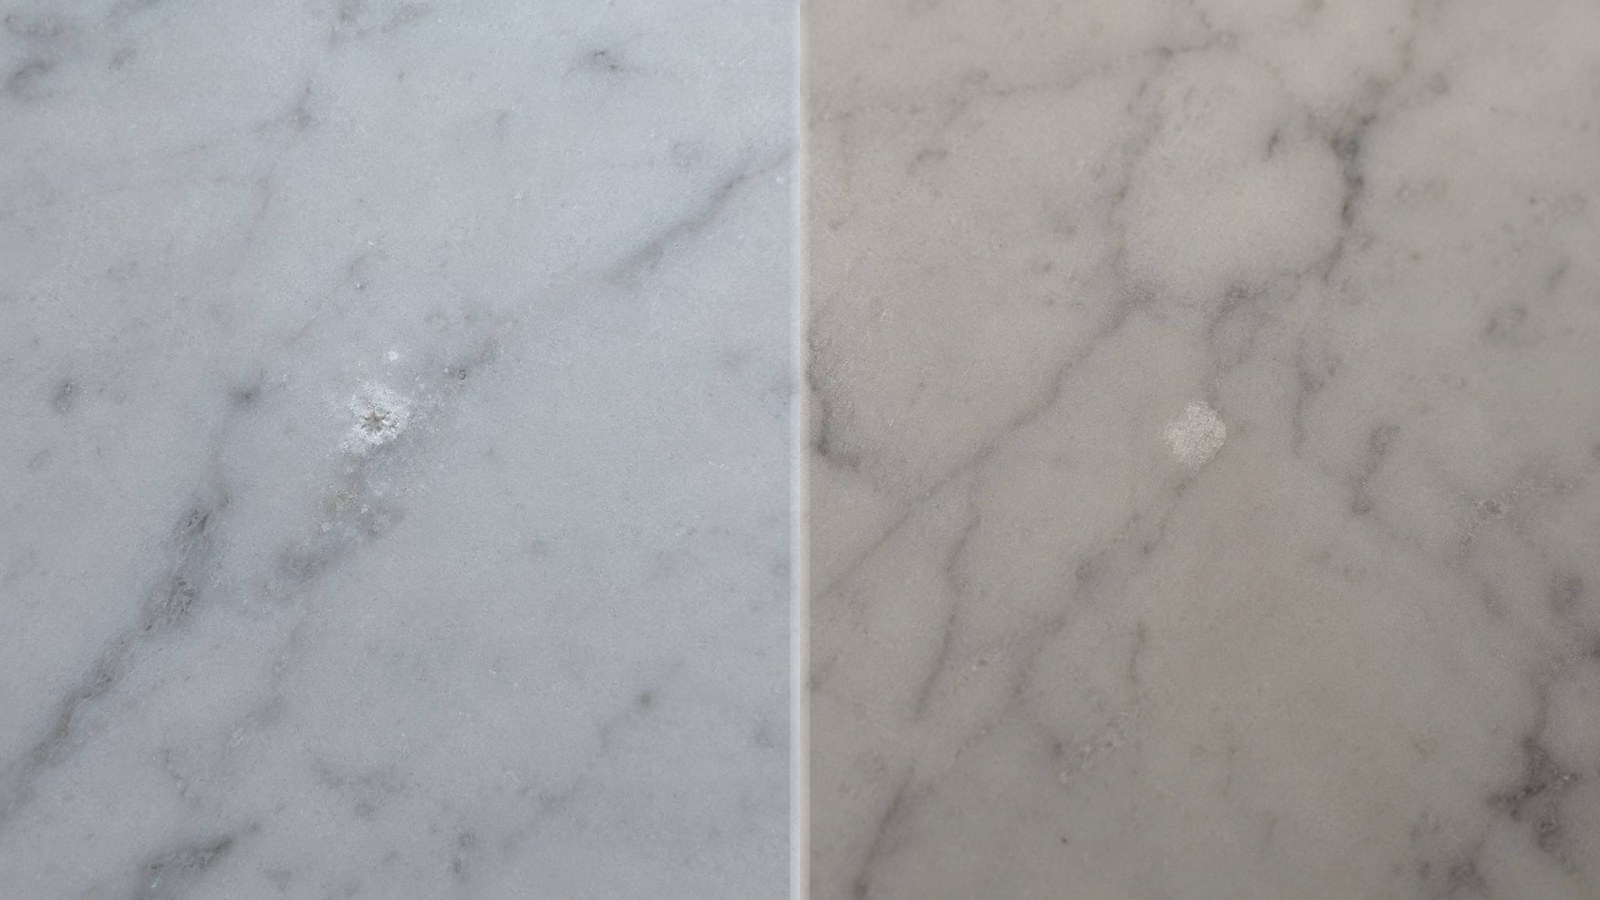
Impact Bruising in Marble: White Marks from Impact or Point Load
A light or white mark in marble after an impact is often not an ordinary stain, but impact bruising: broken crystals caused by impact or point load.