Restoring an Old Marble Floor to Its Former Glory
A marble floor that has been overlooked for years does not have to be lost. What is possible, what is not, and what does the process look like?
DecoStone Natural Stone
Natural stone specialist · Amsterdam
Table of contents
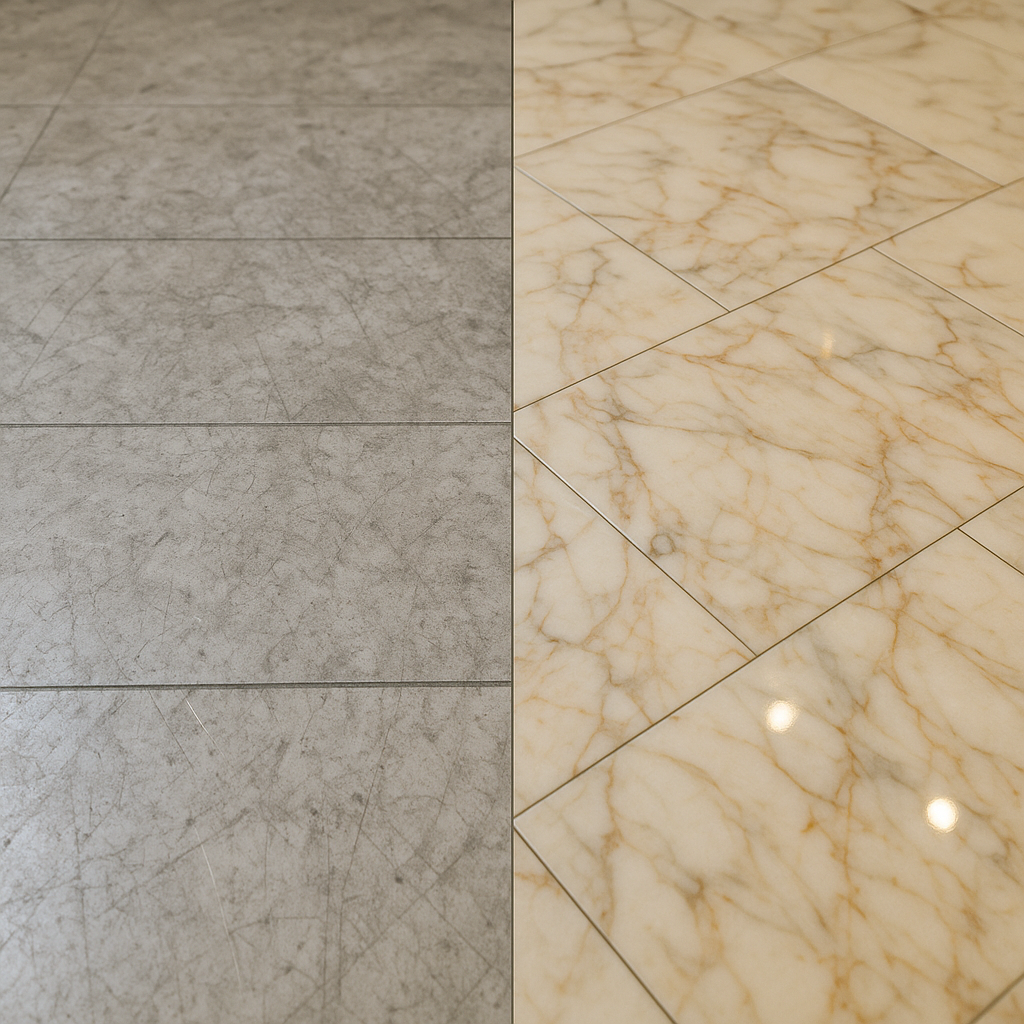
What you have is worth more than you think
Marble was once commonplace. In canal houses, villas and office buildings from the 1950s, marble floors were not exclusive; they were the standard. Decades later, many of those floors are hidden under carpet, protected by a layer of lacquer, or simply neglected.
Anyone who takes the trouble to uncover and restore them sometimes discovers a floor that, with some work, can become a real eye-catcher. Genuine marble has warmth and character that no modern floor can quite match.
But it is only fair to say: not every neglected marble floor will deliver the result you may have in mind after restoration. It depends on what has happened to it over all those years.
What has the floor been through?
That is the first question. Marble is sensitive and reacts to many things:
Etching is caused by contact with acids: lemon juice, vinegar or cleaning products with a low pH value. The calcium carbonate in the marble dissolves and leaves behind a dull, sometimes slightly white mark. This is by far the most common type of damage on marble kitchen floors and worktops.
Wear appears as a dull, sometimes greyish sheen in walking paths. The polished surface has been worn down by shoe soles and abrasive dirt. This can be restored by polishing.
Lacquer or varnish layers have sometimes been applied to "protect" the floor. These layers are usually not the right treatment for marble: they seal the stone, yellow over time and make the floor look synthetic. They must be removed before further treatment.
Carpet residue and adhesive almost always remain after carpet is removed. These residues must be removed mechanically or chemically before grinding can begin.
Rust marks from metal furniture or nails can penetrate deeply into the pores of marble and are notoriously difficult to remove. Light marks often disappear during grinding. Deeper marks remain partly visible, even after treatment. This is one of the situations where we are straightforward: the result is usually improved, but rarely perfect.
The restoration process for a neglected marble floor
Initial inspection
We start by assessing the floor: loose tiles, height differences, the condition of the joints, the nature of the damage and the current state of the surface. Sometimes this is a five-minute check; sometimes it requires more investigation.
Removing added layers
Lacquer, wax, carpet residues and old coatings are removed. Depending on what is on the floor and how long it has been there, this can sometimes be the most time-consuming step.
Repairing loose tiles
Loose or hollow-sounding tiles are dealt with before grinding. A tile that breaks during grinding because it is not properly bonded is a problem you want to avoid.
Grinding
From coarse to fine. The number of steps depends on the depth of the damage. For light etching, four to five grinding steps may be enough. For deep scratches or lacquer residues, it may take eight to ten steps.
After grinding, the surface is even and matte. The colour is clear, and the marble looks "clean" for the first time in years.
Replacing or touching up joints
After grinding, discoloured or damaged joints are repaired. On light marble floors, we choose a colour-stable grout that matches the tone of the stone.
Polishing
Depending on the desired finish: diamond polishing to a high gloss, or honing to a matte or satin finish. For valuable floors, we prefer diamond polishing to crystallisation: no chemicals, and no alteration of the stone structure.
Impregnation
After polishing, the stone is open and absorbent. A good impregnator protects against stains and reduces sensitivity to acid etching. This is not a guarantee — marble remains sensitive to acid — but it gives you more time to limit damage.
What can you realistically expect?
A floor with light to moderate wear and superficial etching can look much better after treatment. Sometimes the result is impressive.
A floor with deep rust marks, several broken tiles and lacquer that has been on it for years will look better after restoration than before — but some traces will always remain visible.
We always record this in advance: what are the expectations, what is achievable, and which areas cannot be removed completely? That is not a weakness; it is honesty.
Maintenance after restoration
A restored marble floor needs different maintenance from a new floor:
- Use only pH-neutral cleaning products
- Do not use vinegar, lemon or aggressive degreasers on the surface
- Re-impregnate every two to five years, depending on use
- Dry spilled water immediately — moisture that stands for a long time penetrates the joints
- Use pads or felt under furniture
Do you have a marble floor that deserves attention? We would be happy to hear more. A photo and a short description of the situation are enough for an initial assessment.
Read the complete renovation process step by step
Need help?
Not sure about the right approach, or would you like to know what is possible? Send us a photo via WhatsApp and we will give you honest advice — without obligation.
Want to be sure which treatment is safe?
Send photos of the surface, room and problem. DecoStone assesses the material, damage pattern and risks before advising on a treatment or quotation.
Related articles
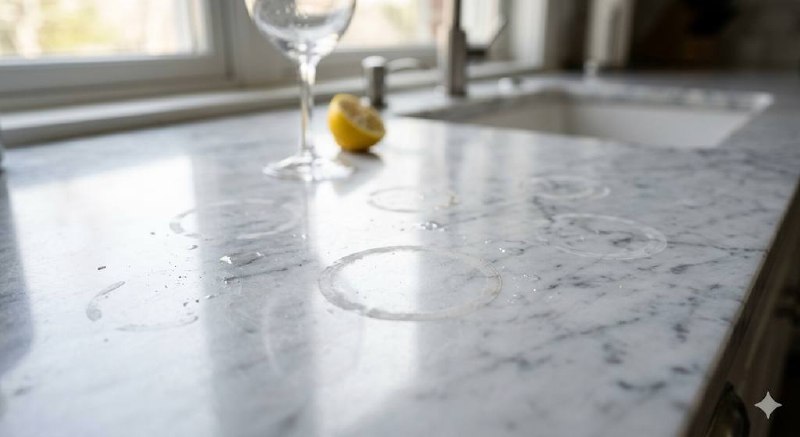
Etching on Marble: What It Is, How It Happens and How to Prevent It
Etching is the most common damage to marble floors and worktops. Learn what it is, what causes it, what you can do yourself and when to call a specialist.
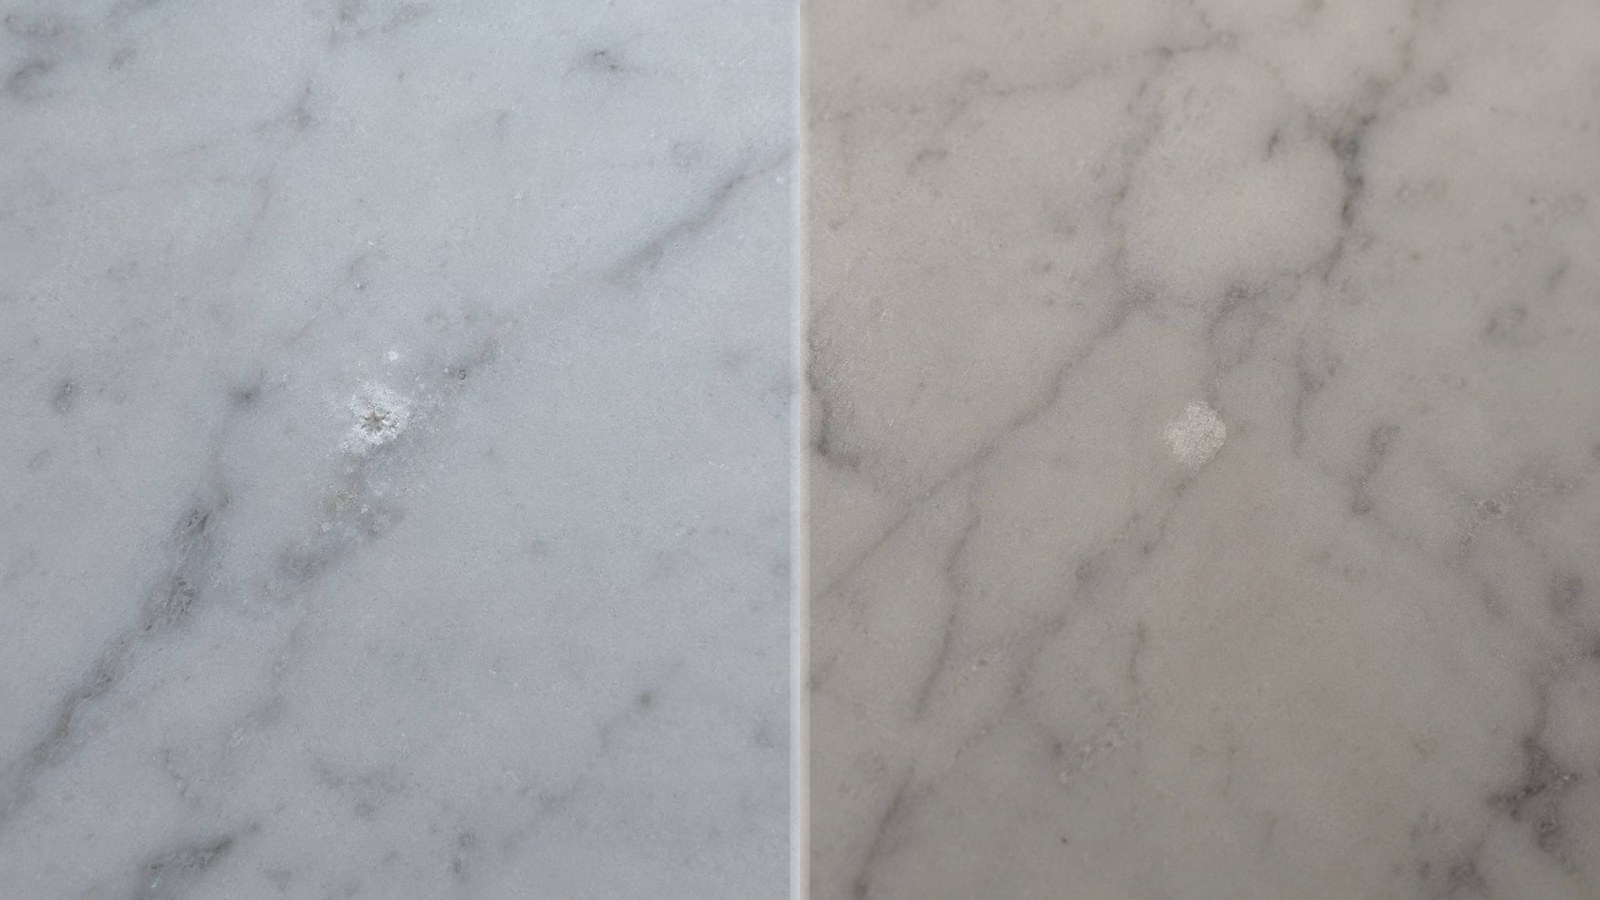
Impact Bruising in Marble: White Marks from Impact or Point Load
A light or white mark in marble after an impact is often not an ordinary stain, but impact bruising: broken crystals caused by impact or point load.
Marks and Polishing Bands in Taj Mahal Quartzite: What Repair Is Realistic?
Taj Mahal quartzite is hard, light-coloured and valuable. Marks or polishing bands after installation are difficult to correct. Read what makes repair realistic and when inspection should come first.