Renovating a Natural-Stone Floor: The Complete Process Step by Step
A full floor renovation is a substantial process. What are the steps, what can you expect and how long does it take? An honest overview from start to finish.
DecoStone Natural Stone
Natural stone specialist · Amsterdam
Table of contents
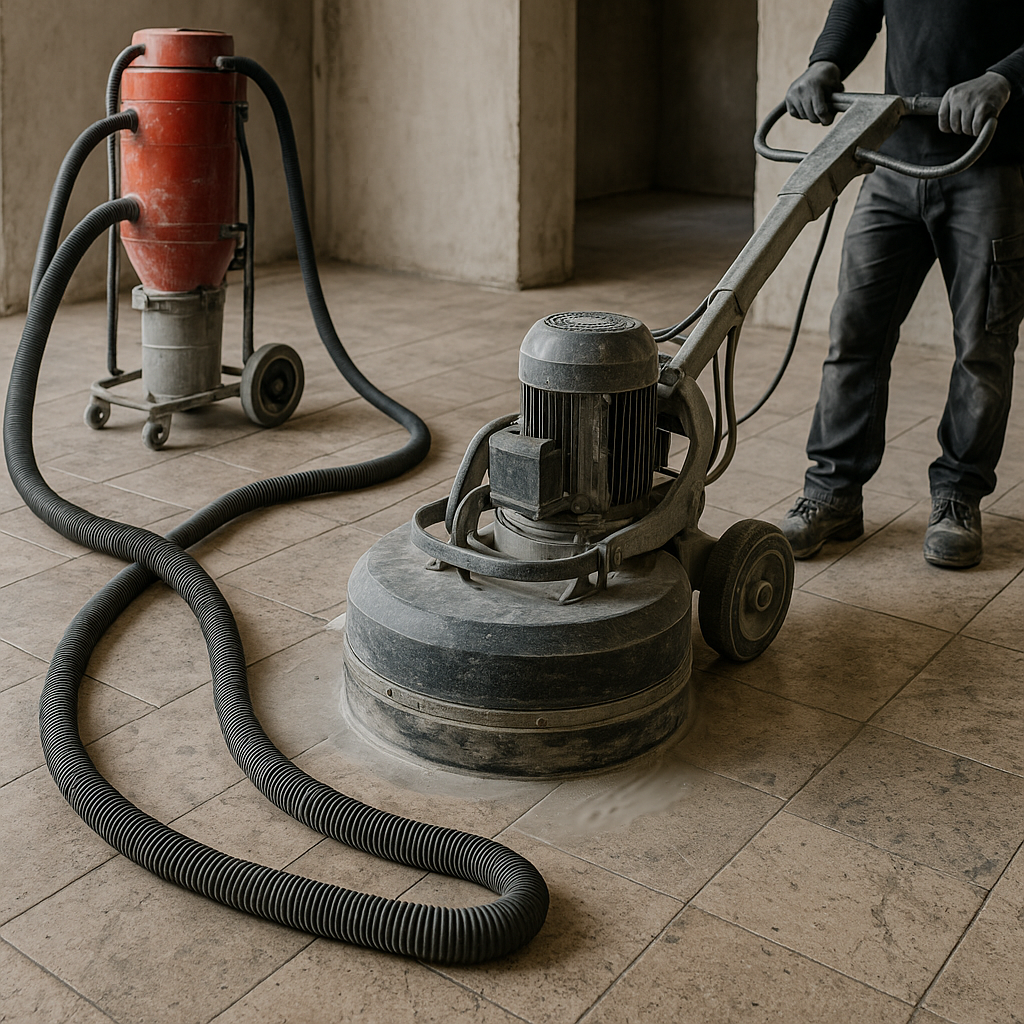
Why renovation is sometimes more than a quick refresh
A natural-stone floor lasts for decades. But after years of use, almost every floor looks different from the day it was installed: wear, small damage, discoloured joints, a duller surface. Sometimes a thorough renovation is worthwhile — especially when the stone is of good quality and the damage is not structural.
A floor renovation is not always cheap. But compared with relaying or replacing the floor, it is almost always the smarter choice, both financially and aesthetically. Original stone has patina and character that new material lacks.
Step 0: the inspection
Before anything is done, we inspect the floor. Not superficially, but thoroughly:
- Are there loose or hollow tiles?
- Is there movement in the floor?
- What is the condition of the joints?
- How deep are the scratches and damage?
- Are there moisture stains or mineral deposits (leaching)?
- What stone type is it, and what finish does it have?
This determines which steps are necessary and in what order. Anyone who skips this step starts a renovation without knowing where it is heading.
Important: renovation does not remove the cause of damage. If the floor has loose tiles because of an unstable substrate, if there are moisture problems or if expansion joints are missing, we address that first. Renovating a floor that is not structurally sound may produce a temporarily attractive result, but the same problems will return within a foreseeable period.
Step 1: Repair loose and damaged tiles
Loose tiles are lifted, adhesive residues are removed and the tiles are re-laid on a full adhesive bed. Broken tiles are replaced or — if the stone is no longer available — repaired with stone paste.
Why first? Because sanding or polishing a hollow tile can cause it to break. And because the flatness of the floor is partly determined by how the tiles are laid.
Step 2: Levelling
If there are height differences between tiles, the surface is ground flat. This is a coarse step with a coarse grit, specifically intended to remove lippage.
After this step, the floor is flat, but the surface looks rough and dull. That is normal: we have only just started.
Step 3: Coarse sanding
Now the actual sanding process begins. With successive grit steps, the upper layer of the stone is removed:
- Coarse grit removes deep scratches, damage and the old surface
- Medium grit removes the scratches from the previous round
- Fine grit prepares the surface for the finish
Each step takes time. Rushing through them means the scratches from the previous step have not disappeared, and they will become visible during polishing.
Step 4: Repair joints
After sanding, the joints are exposed and clean. This is the ideal moment to grind out damaged or discoloured joints and replace them.
Why after sanding and not before? Because sanding also removes the top layer of the joint. New joints installed before sanding would have to be done again afterwards.
Step 5: Fine sanding and polishing
Depending on the desired finish:
High gloss: increasingly fine grits are used to work toward a high polishing level. For marble, this can be achieved through diamond polishing or crystallisation. The result is a mirror-gloss surface.
Matt or rough-honed: the sanding process is stopped at an intermediate step. The result is a tight, even surface without gloss. Popular for slate, certain limestones and modern interiors.
Honed: a satin-gloss surface, somewhere between matt and high gloss. The most versatile and least demanding option for daily use.
Step 6: Cleaning and degreasing
Before impregnation or treatment, the floor is thoroughly cleaned and degreased. Residues of sanding water, dust and sanding slurry must be completely removed. Impregnating a dirty floor works poorly or not at all.
Step 7: Impregnation or treatment
After sanding and polishing, the pore structure of the stone is fully open. This is the best moment to impregnate.
The difference between sanding and polishing natural stone
A good impregnator penetrates deep into the stone and protects it from within against moisture, grease and dirt. The stone continues to breathe but becomes significantly less sensitive to staining.
Depending on the stone type and use, we recommend:
- Hydrophobic impregnator for marble and calcareous sandstone
- Oil or wax for slate and Belgian bluestone
- BioShield or comparable product for outdoor stone and wet rooms
Step 8: Assess the final result
We assess the result together with you. Are there areas that need extra attention? Is the gloss level as desired? This is the moment for any finishing touches.
Time indication
Renovating an average living-room floor (30–50 m²) usually takes two to three working days. Take into account:
- Drying time for adhesive when re-laying tiles (minimum 24 hours)
- Curing time for joints (24–48 hours)
- Drying time for the impregnator (12–24 hours)
The floor cannot be used during the renovation. Plan this in advance.
What can you expect?
A floor that is in good structural condition and has light to moderate wear can give an impressive result after renovation. Deep-polished marble or honed bluestone sometimes looks better after renovation than it did after the original installation.
With severe damage, rust marks (from metal legs or nails), deeply ingrained dirt or previous poor treatments, we can improve the floor significantly but cannot always remove everything completely. We are honest about that beforehand.
Would you like an indication for your floor? Send a photo and the dimensions. We will give you an honest assessment and a clear quotation.
Also read what to expect from the cost of a natural-stone floor
Need help?
Are you unsure about the right approach, or would you like to know what is possible? Send a photo via WhatsApp and we will give you honest advice — without obligation.
Want to be sure which treatment is safe?
Send photos of the surface, room and problem. DecoStone assesses the material, damage pattern and risks before advising on a treatment or quotation.
Related articles
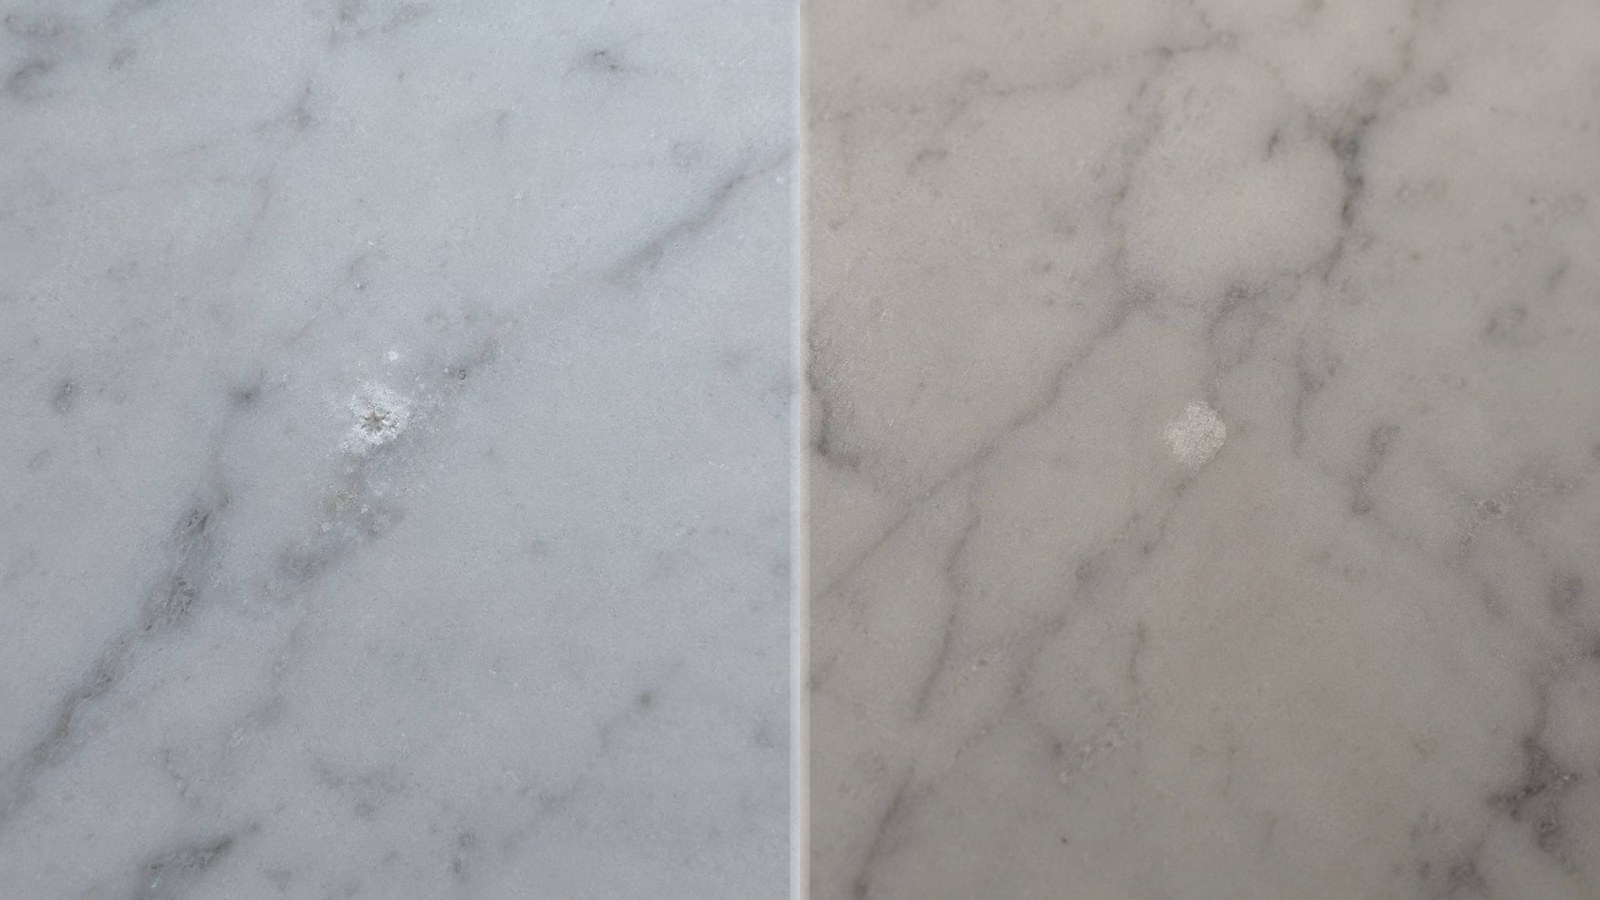
Impact Bruising in Marble: White Marks from Impact or Point Load
A light or white mark in marble after an impact is often not an ordinary stain, but impact bruising: broken crystals caused by impact or point load.
Marks and Polishing Bands in Taj Mahal Quartzite: What Repair Is Realistic?
Taj Mahal quartzite is hard, light-coloured and valuable. Marks or polishing bands after installation are difficult to correct. Read what makes repair realistic and when inspection should come first.
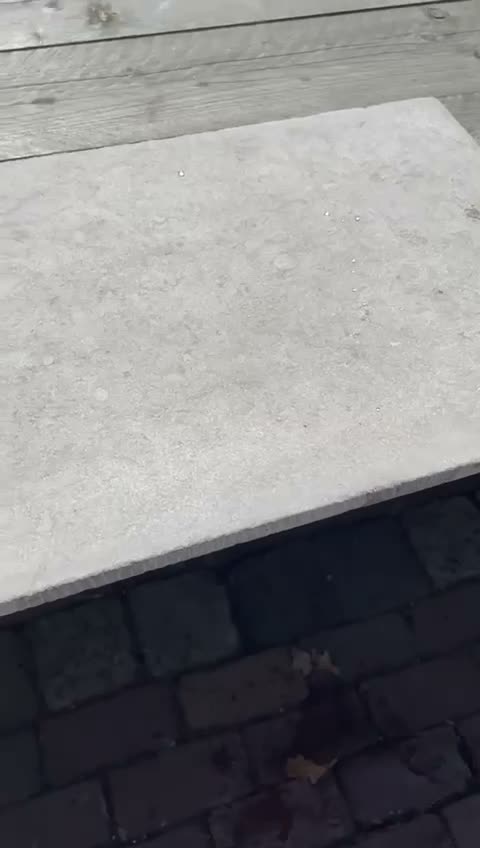
Restoring Dull Spots in Natural Stone: Does the Whole Floor Have to Be Cleared?
Does your natural stone floor have local dull spots? Learn when local repair is possible, when a larger area looks better and which photos are needed for advice.