Removing Cement Residue from Natural Stone after Installation
Cement haze, grout residue and splashes on natural stone are common after installation. Learn how to remove them safely, by stone type.
DecoStone Natuursteen
Natural stone specialist · Amsterdam
Table of contents

After installation: the dirty work begins
The tilers are finished. The floor looks beautiful. Then you notice it: a film of cement laitance across the whole floor, grout residue in the corners, and here and there a hard cement mark where mortar has simply splashed onto the stone.
Cement residue on natural stone is so common that it is almost a standard part of every tiling project. But the right approach is anything but standard, because the wrong method can permanently damage an expensive stone.
Three types of cement residue
Cement haze (cement laitance): A thin, light-grey film over the surface. It forms when cement water flows over the stone during grouting. On dark stone it appears as a dull grey veil.
Grout residue: Harder lumps or streaks of grout that have cured on the stone, often along the edges of the joints.
Cement splashes: Larger, thicker clumps splashed during mixing or application of mortar or adhesive.
Each type needs a slightly different approach. The key distinction, however, is the type of stone involved.
The crucial question: which type of stone do you have?
This determines everything. There are two main groups:
Group A: Calcite-rich stones
Marble, limestone, travertine, Belgian bluestone, arduin
These stones react to acid — exactly the ingredient found in most cement removers. Using acidic cleaners on calcite-rich stone causes immediate etching: matt, dull marks that require professional polishing.
Never use on Group A:
- Hydrochloric acid solution
- Acetic acid
- Citric-acid cleaners
- Standard cement remover (these are almost always acidic)
Group B: Silicate-rich stones
Granite, slate, quartz stone
Granite and slate do not react to acid in the same way (quartz and feldspar are acid-resistant in normal use). Mild acidic solutions can therefore be used here.
Removing cement residue from calcite-rich stone (Group A)
Step 1: Mechanical, carefully
Always start mechanically, without chemicals.
- Plastic scraper or wooden stick for larger lumps
- Soft brush for loose powder
- Never use a metal scraper or chisel: it will scratch the stone
- Warm water and a soft brush for the first clean
Remove as much as possible mechanically before adding any product.
Step 2: Alkaline or neutral cement cleaner
For calcite-rich stone, use an alkaline (basic) cement cleaner, not an acidic one. These are specialist products that dissolve lime-cement residue through a different chemical route.
Suitable products include:
- Lithofin Power-Clean (neutral, safe for most stones)
- Fila Cleaner (for surface cleaning after installation)
- Products specifically labelled “safe for marble and limestone”
Method:
- Wet the surface with clean water
- Apply the cleaner according to the product instructions
- Allow the prescribed dwell time, usually 5–15 minutes
- Scrub with a soft nylon brush
- Rinse thoroughly with plenty of clean water
- Assess the result
Repeat if necessary. Stubborn residue sometimes needs two or three treatments.
Step 3: Stubborn cement marks on calcite-rich stone
If alkaline cleaning is not sufficient, a specialist product may be needed: an EDTA-based cement cleaner (ethylenediaminetetraacetic acid). It binds calcium ions without being acidic in the usual sense.
Lithofin KF Cement Residue Remover for sensitive stone is an example of this type. Check the safety information and always test first on an inconspicuous area.
For persistent cement residue on expensive marble, call in a specialist. DecoStone has experience removing cement from sensitive materials.
Removing cement residue from silicate-rich stone (Group B)
On granite and slate you have more options:
Mild hydrochloric acid solution (5–10%):
- Wear gloves and safety glasses
- Wet the stone first
- Apply the solution and let it work for 2–5 minutes
- Scrub with a nylon brush
- Rinse immediately and thoroughly
Please note: even on granite, you can cause damage if you do not rinse properly or use overly concentrated solutions. Always test first.
Standard ready-to-use cement removers for tiles are generally safe on granite when the instructions are followed.
After cleaning: check the joints and impregnate
After cleaning:
- Check the joints: have sections loosened or been damaged? Repair them immediately.
- Let the stone dry: at least 24 hours.
- Impregnate: after installation, impregnation is the first layer of protection. Use a product suited to your stone type and application.
More about impregnation: When should you have your natural stone impregnated?
Prevention: better than removing it afterwards
The best approach to cement residue is prevention:
- Cover tiles immediately after grouting with cardboard or protective film
- Wipe grout off immediately with a damp sponge before it hardens
- Apply a protective coating before installation (strip-and-peel system): a removable layer that is peeled off after grouting
Not every tiler does this as standard. Discuss it beforehand, especially with expensive or sensitive material.
When should you call in professional help?
- You have already tried the wrong product and now see matt marks (etching)
- The cement residue is older than four weeks (it continues to harden and becomes harder to remove)
- The stone is expensive or rare
- The contamination covers a large area (professional equipment is more efficient)
Need help? Contact DecoStone →
Need help?
Unsure about the right approach, or want to know what is possible? Send us a photo via WhatsApp and we will give you honest advice — without obligation.
Want to be sure which treatment is safe?
Send photos of the surface, room and problem. DecoStone assesses the material, damage pattern and risks before advising on a treatment or quotation.
Related articles
Importing Natural Stone? Check Quality Control Before Handover
Importing natural stone yourself, or having it supplied through several parties, can work well, but it requires proper quality control. Especially with quartzite such as Taj Mahal, repair costs after installation can rise sharply.
Preparing for the Workday: How to Be Ready for DecoStone
DecoStone will soon visit for maintenance, repair, polishing or impregnation of natural stone. With this preparation, the workday can run calmly, neatly and efficiently.
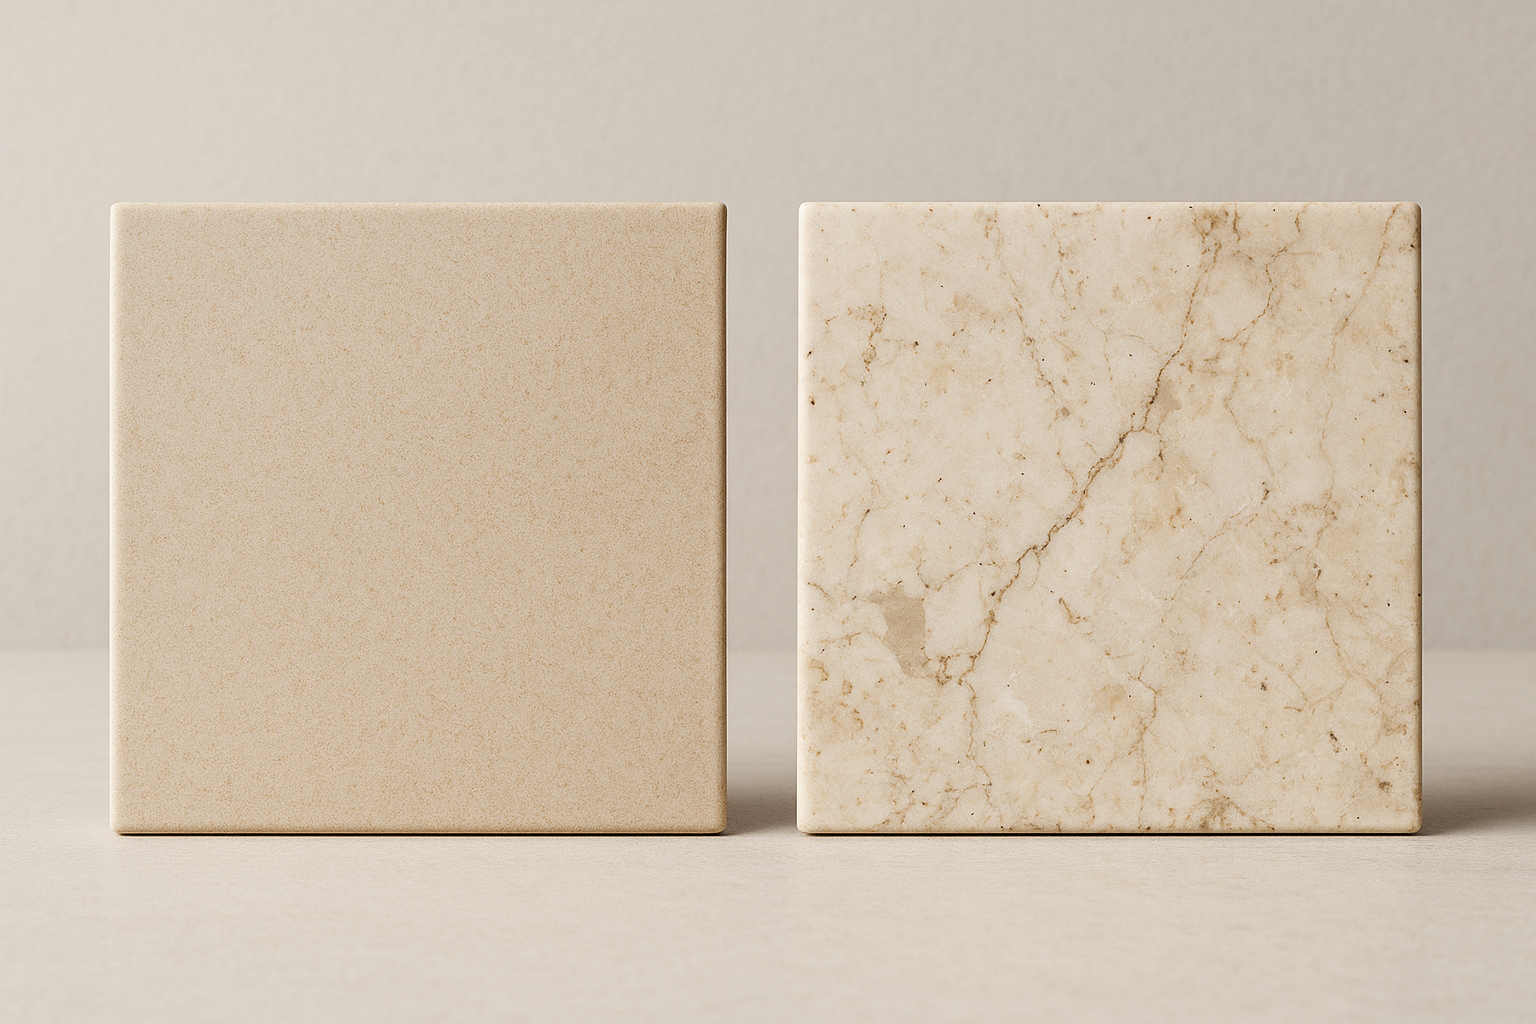
Ceramic vs. Real Natural Stone: An Honest Comparison
Ceramic tiles imitate stone better and better. But there are essential differences that only become visible after years — or sooner than expected. What should you consider?